I can finally share this project I have been working on the last 2 weeks. They are all now sent off and reached their destination. On a Facebook group I am on the call went out for help for a Fundraiser. I offered to make some little gifts for the goodie bags they would have. Then the realisation hit – What was I going to do?? I needed 65!!! After a little pondering I decided to make some little Tea Bag Holders. I had an abundance of teabags – and lots of retired paper. 🙂
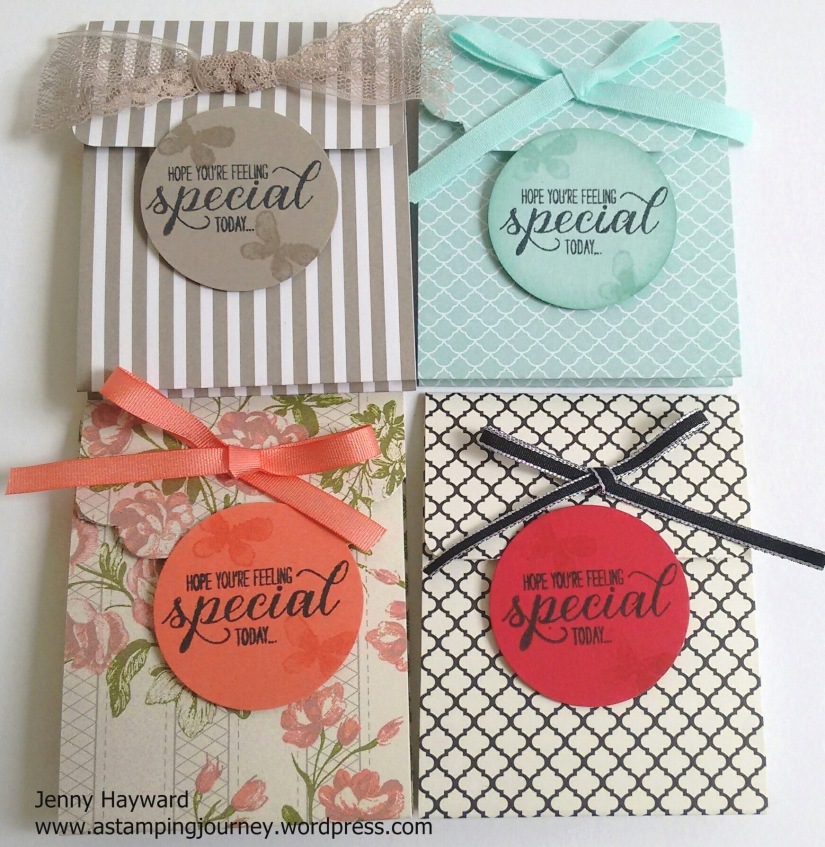
Here is just a sample of some of them.
I used the set ‘Garden in Bloom’ for the little labels on the front. I thought it was very appropriate for such an event.
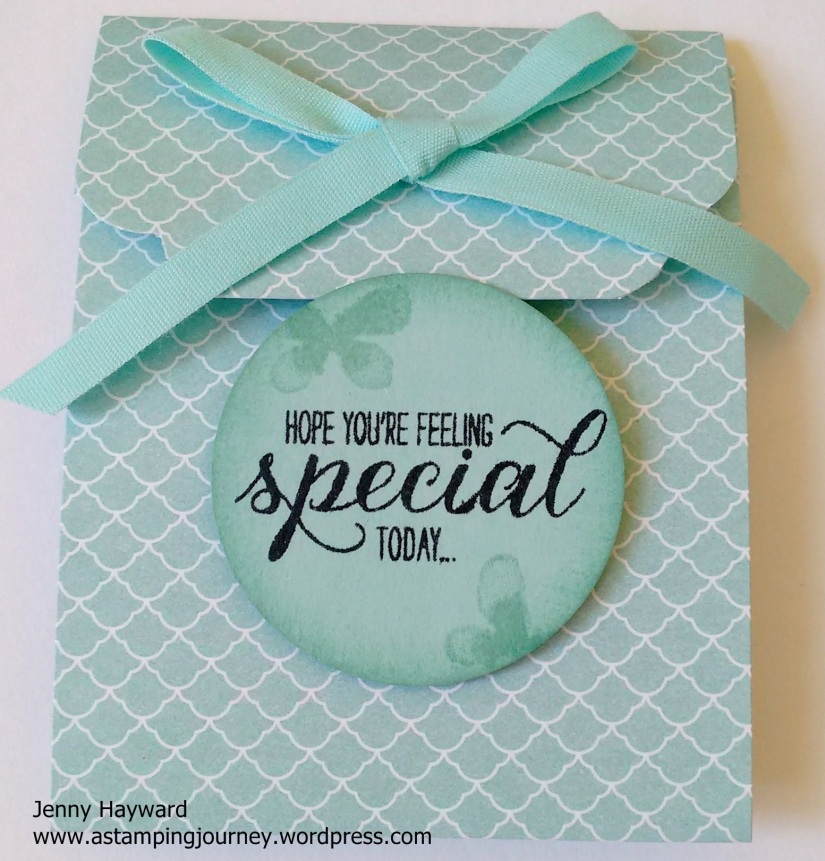
Here is just one of them. I will share the ‘how to’ further below.
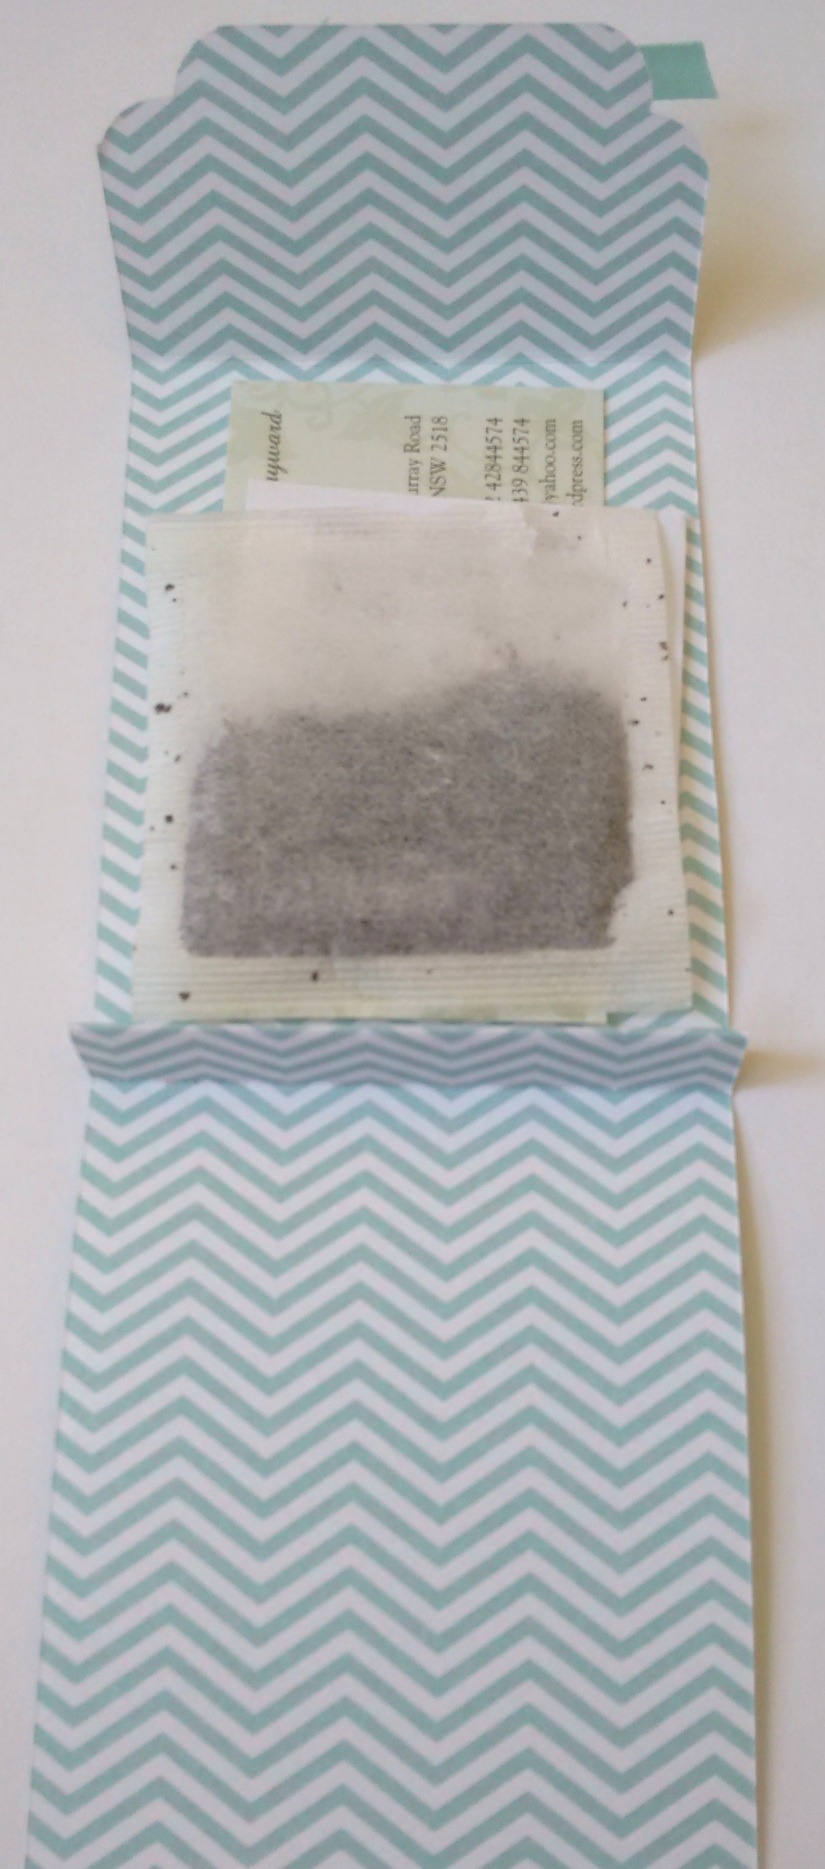
Opened out I could fit a tea bag, a cute tea verse (see below) and my business card.
Here is the verse I put inside. I found this on Pinterest.
“When your day seems topsy turvy,
And as stormy as can be.
There is nothing quite as tranquil,
As a nice hot cup of tea.”
**
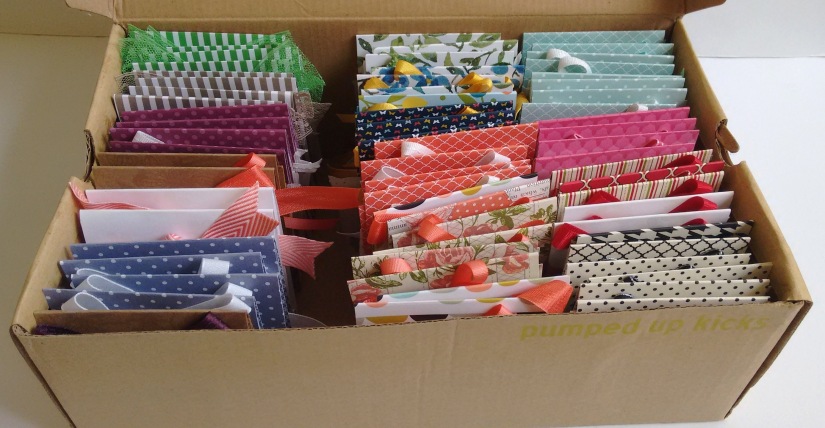
So here they are all 65 of them packed and ready to go.
So here are the details if you would like to make your own. There are a few different versions around the internet but these were inspired by a Convention swap I received some years ago. I adjusted the size so I could fit my business card in and just made them a little differently. I could get 4 to a 12″x 12″ sheet of Designer Series Paper.
TEA BAG HOLDER
Cut your paper to 7.5 cm x 25 cm (3″ x 9 7/8″)
Score your paper at 9 cm, 10.2 cm, 11.5 cm and 21 cm. (3 1/2″, 4″, 4 1/2″ and 8 1/4″).
Fold on your score lines creating a “W” shape. (I hope that makes sense??). The end with the narrowest scored piece is the front flap. Corner punch the corners on this flap. I used the new Curvy Corner Trio Punch for most of them or else I used the regular Corner punch. Add a bow to the front flap.
Stamp your greeting and punch out with the 1 3/4″ Circle Punch. Add Dimensionals on the back just on the lower section. Add to the front of your holder. You can tuck the flap under the top of the punched circle to hold it together.
I hope you like these. They are very quick to make once you get going.
Thanks for stopping by,
Jenny
Cute little verse inside! Nice of you to provide 65 of these to the cause!
LikeLike
Thank you so much for including the inches to make these! Love them.
LikeLike
Very cute, thanks for sharing your instructions too!
LikeLike
Wonderful I wonder if you could explain what add dimensional means? Thank you sincerely Lorraine
LikeLike
Thank you Lorraine. I am glad you like them. They are very quick to make.
Dimensionals is the name of the Stampin’ Up! product that you use to raise items up off your project. It is like foam dots or a foam tape that you can cut up and you stick them behind your piece. The Stampin’ Up! ones are available in a pack. On this project I added them behind the sentiment.
I hope that might help but please ask if you have any more questions.
LikeLike
Hi.. What do you use to secure the tea bag (the sides are open)?
LikeLike
Hi Siri. They are open. I added the tea bag with a little glue dot on the back inside. The front flap tucks under the circle on the front. Hope this helps.
Jenny
LikeLike